
# Set up Agents and Pipelines
Set up an agent, assign it to a project, then create and run a pipeline.
# Register machine as agent
Install the Python client (if you haven't already) and log in using the CLI:
pip install datatorch
datatorch login
After authentication, register your machine as an agent using the command:
datatorch agent create
And set the name of your agent. After this is done, start the agent by running the command:
datatorch agent start
As long as this process is running, the agent will be available for runs.
# Assign agent to project
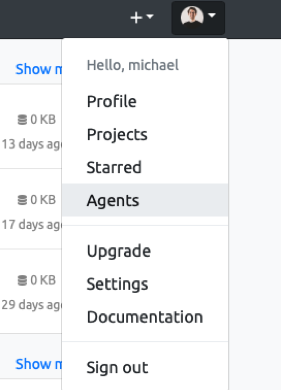
Now that your agent is registered and running, you should be able to see it within DataTorch. Click your profile picture in the top right corner of the navbar, then click the Agents button in the dropdown.
This will take you to the Agents page. Here, you will be able to see the agents available to your account. If registered correctly, you should see the name of your agent on the sidebar. Click on it to see more info on its status:
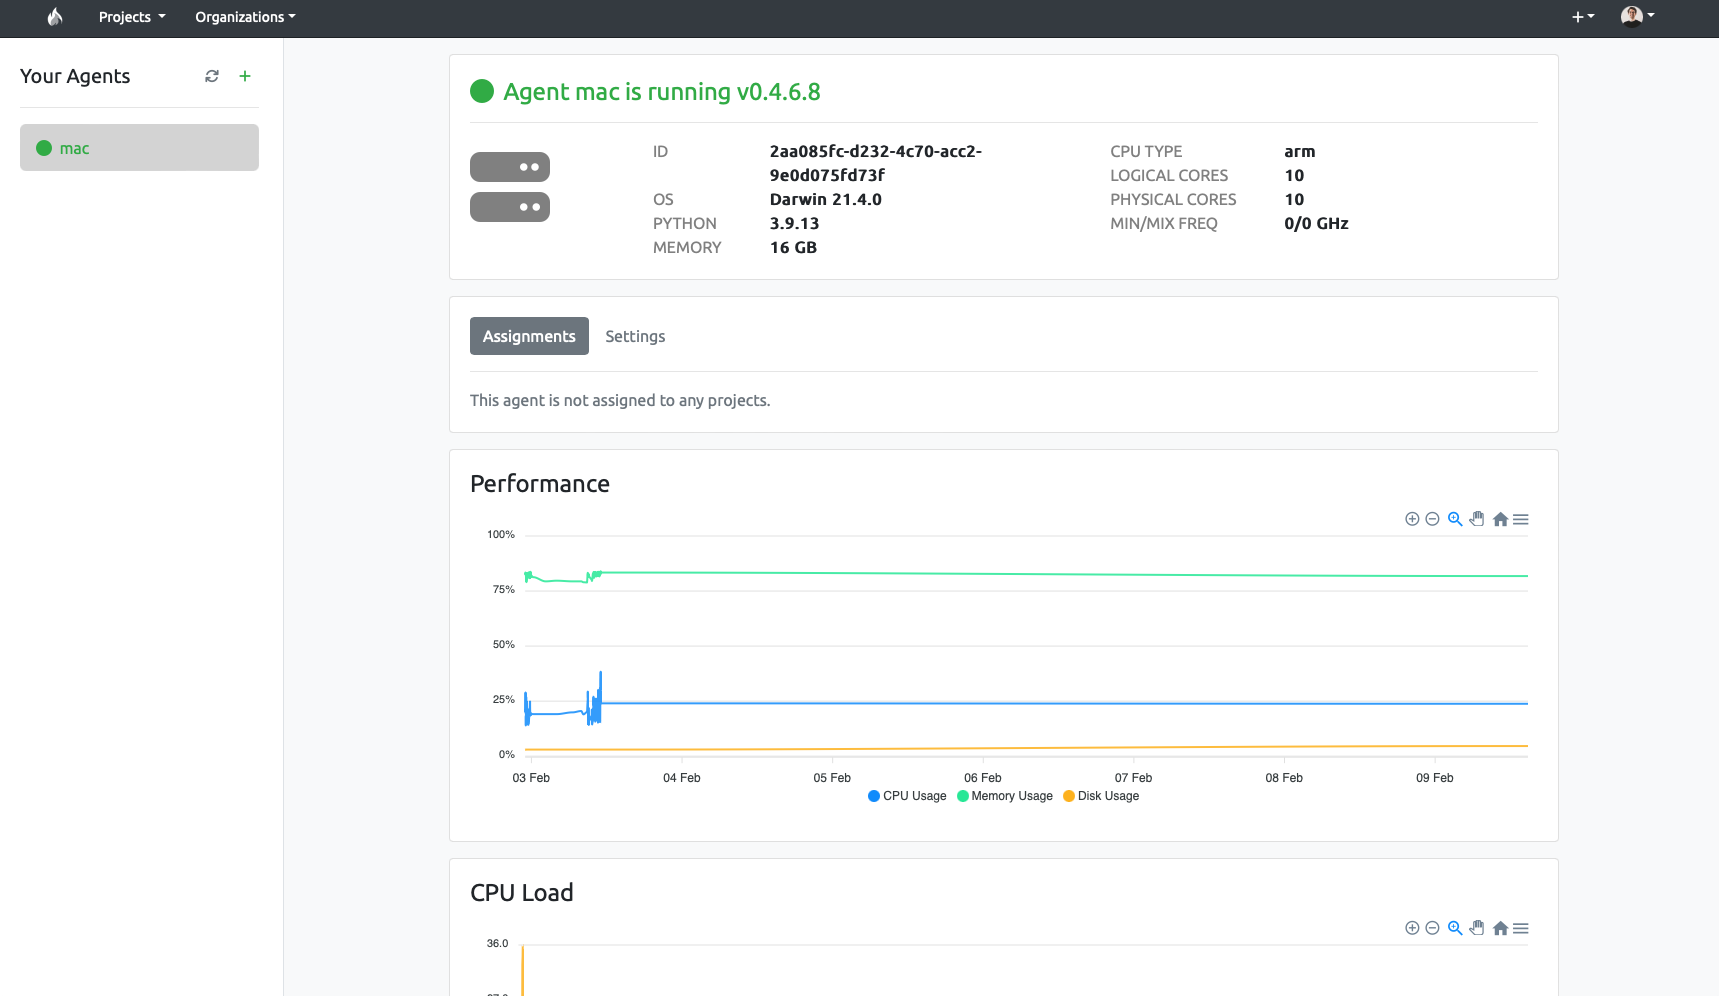
We've confirmed that the agent is properly registered. Now, we can add it to a project to use in its pipelines.
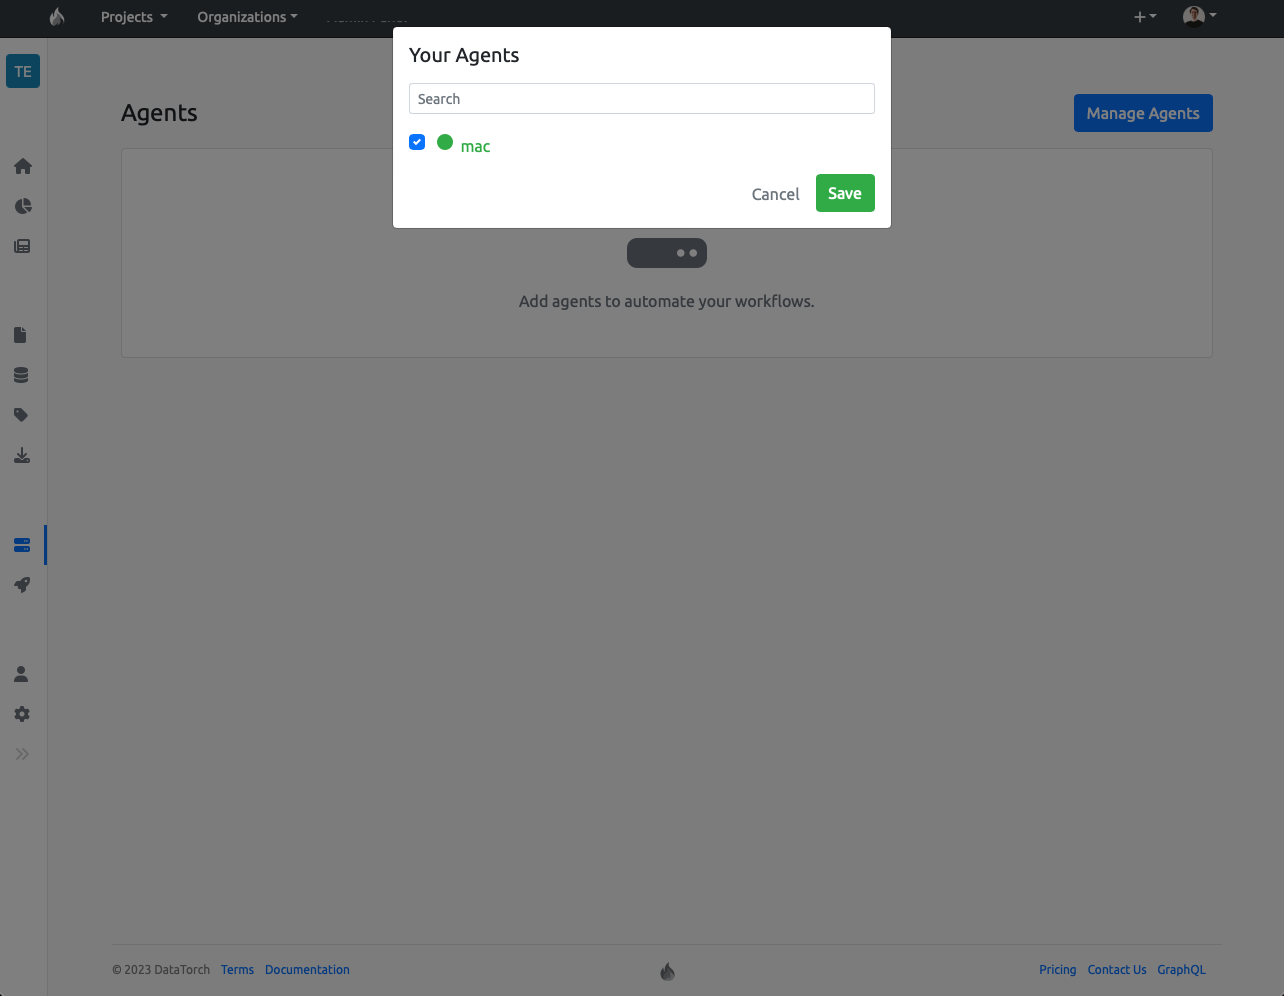
From within a project, click on the Agents button in the sidebar to enter the project's Agents page, then click the 'Manage Agents' button to view a list of your account's agents.
Simply select the agent you wish to assign the project, then click save:
You should now see your agent present on the Agents page. Your agent is ready for running pipelines!
# Create pipeline
Now, click on the rocket ship icon in the project toolbar to enter the Pipeline Runs menu.
You should see your assigend agent as online (assuming the process is running on your machine) in the subsidebar, indicated by a green circle. If it is red, you will need to run datatorch agent start to activate the agent.
Click the "New Pipeline" button to begin creating a pipeline.

When you click this button, a default YAML file is provided for you that contains a simple pipeline to add two numbers together. Within the file, you should see two inputs named 'a' and 'b'.
Change those values to whatever you want, then click the 'Create Pipeline' button to create the pipeline.
# Run pipeline
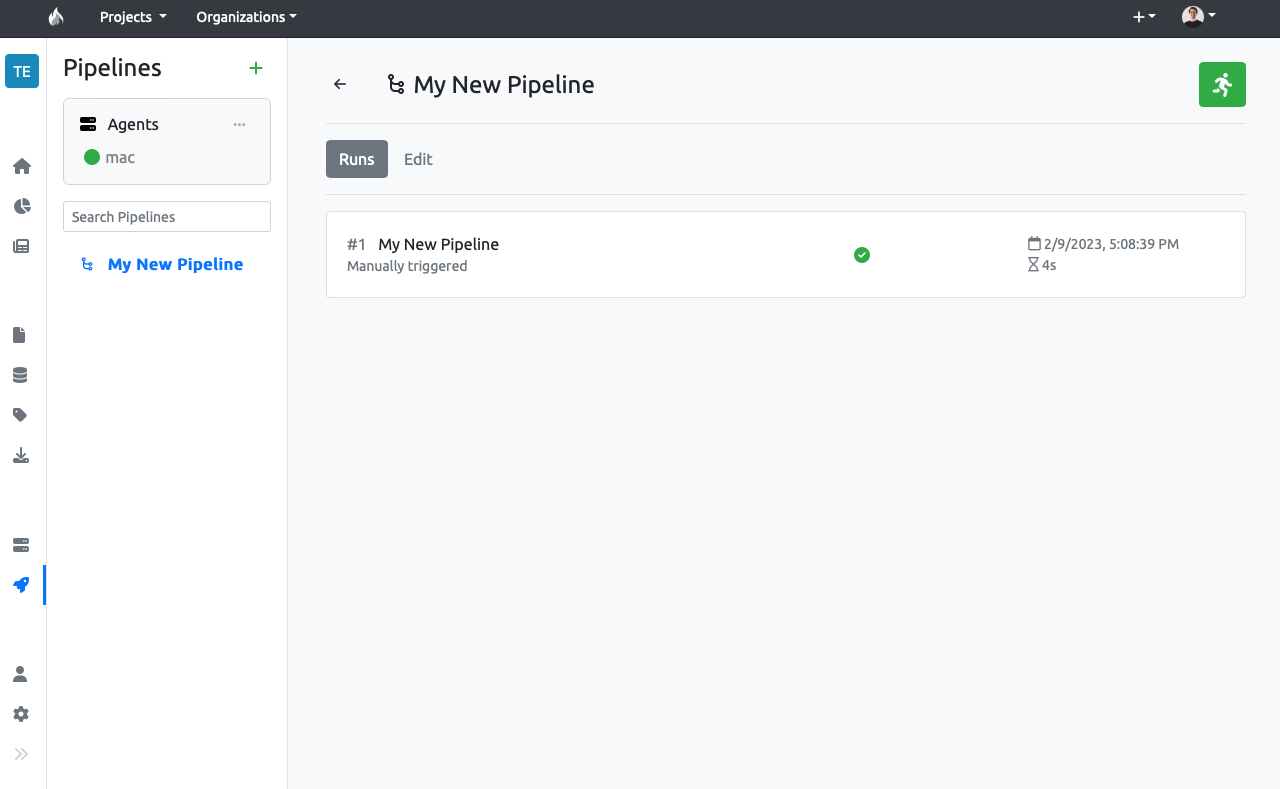
After creating the pipeline, you will be taken directly to the pipeline's control panel.
To run the pipeline, click the green running man icon to trigger the pipeline. It should complete quickly, indicated by a change from a pause sign to a check mark in the status icon (you may need to refresh the page to update the status icon).
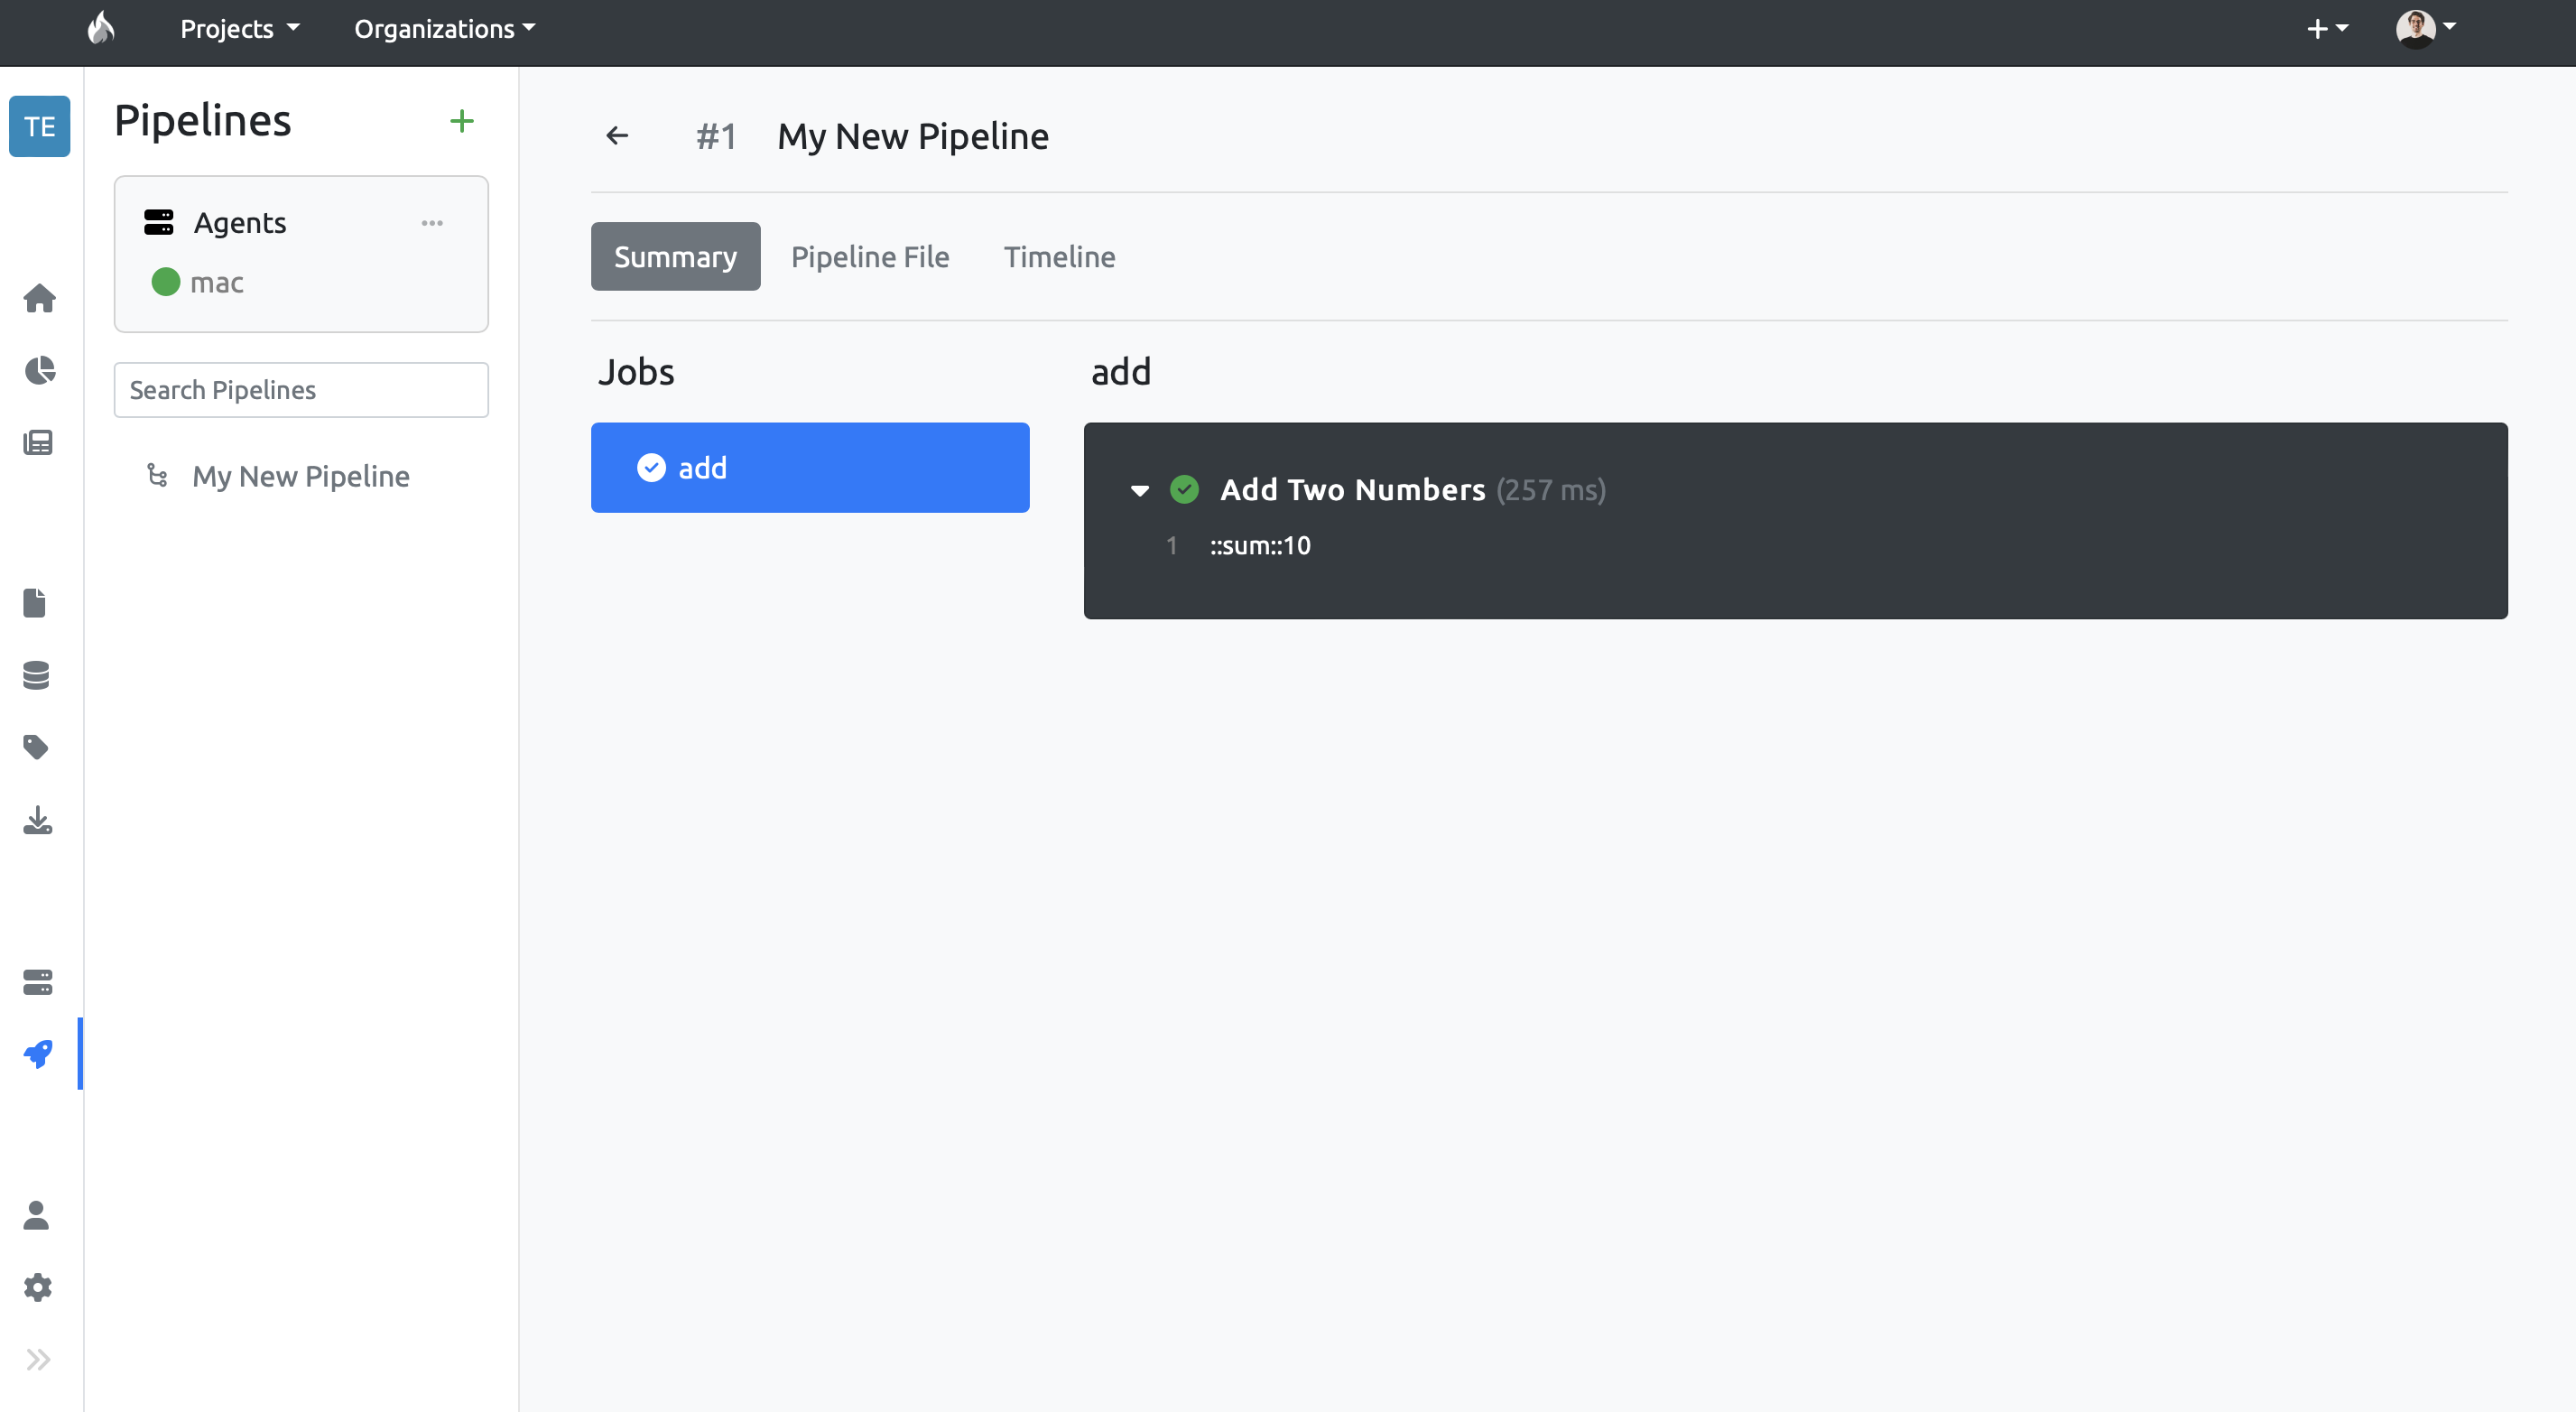
Click on the run history to see more info about that specific run. There, in the Summary tab, you will see a list of the pipelines's jobs and their outputs.
If you click on the dropdown for the step 'Add Two Numbers' within the 'add' job, you should see an output representing the sum of the two numbers you defined earlier.
# Next steps
Congrats! You have created an agent, assigned it to a DataTorch project, created a simple pipeline containing a single job with one step, run the pipeline, and got the output. Now you are ready to build your own pipelines to automate whatever tasks your heart desires!