
# Agents and Pipelines
# Agents
DataTorch offers a powerful execution environment runner for setting up pipelines and automating your machine learning lifecycle.
Agents are used to execute custom tasks called pipelines. With Agents you can build custom end-to-end machine learning pipelines directly in your projects.
# Pipelines
Pipelines are custom automated processes that you can set up in your project to build, test, package, release, or deploy any project on DataTorch. With pipelines you can automate your machine learning life cycle with a wide range of tools and services.
Pipelines must have at least one job, and jobs contain a set of steps that perform individual tasks. Steps can run commands or use actions. You can create your own actions or use actions shared by the DataTorch community and customize them as needed.
You can configure a pipeline to start when a DataTorch event occurs, on a schedule, or from an external event (commonly referred to as Triggers).
You need to configure pipelines using YAML or JSON syntax. You can also upload pipeline files using the DataTorch CLI tool. Once you've successfully created a pipeline file and triggered the pipeline, you will see the build logs, tests results, artifacts, and statuses for each step of your pipeline.
# Actions
Actions are individual tasks that are combined into jobs. You can create your own actions, or use and customize actions shared by the DataTorch community.
You create actions by placing a special file called action-datatorch.yaml in your repository. This file acts as the 'glue' between your pipeline file and the code within your repository. You point the action-datatorch file to the rest of the code in your repo, which can do anythihng you like, including integrating with DataTorch's APIs or any publicly available third-party API.
Actions can run directly on a machine or in a Docker container. You can define an action's inputs, outputs, and environment variables.
Here's an overview of the process:
- An external computer is registered as an agent and activated via the command line tool
- A user assigns one of their activated agents to a DataTorch project
- A pipeline is created in that project by creating a YAML file that points to files in a code repository
- The YAML file is edited to define jobs with expected inputs, outputs, and triggers for running the code in the files
- The user triggers the pipeline within DataTorch by pressing the run button (or through another user defined trigger)
- Upon triggering, the agent downloads the code from the given repo, and runs the actions within the pipeline's jobs.
- The output is returned to DataTorch for the user to view.
# Creating an Agent
Running an agent on your own hardware allows users to configure more processing power or memory to run larger jobs. Agents can be hosted physically, virtually, in a container, on-premises, or in a cloud.
You can add agents at the organization or team levels, where they can be used to process jobs for multiple projects, or you can add a agent to a specific project only.
The configured agent machine connects to DataTorch API using the using the Python Library. The agent runner is open source, which means you can contribute and file issues in the repository.
WARNING
An agent is automatically removed from DataTorch if it has not connected for more than 30 days.
- Install the DataTorch CLI. You must be running python 3.7+.You should now be able to access the CLI tool by running:
pip install datatorch[agent]Checkout the Python SDK/CLI section for more information.datatorch --help - Login to the CLI tool. Run the command below to login and link your
account to your machine.
datatorch loginTIP
If you are running a custom instance of DataTorch you will need to specific a
--hostparameter. General, the value will behttps://your-instance.com/api. - Create an agent. Run the command below to create the agent.
datatorch agent create - Run the agent. Run the command below to start the agent.The agent will consume the terminal with logs and output information. You will now be able to view the agent in DataTorch. Exiting this terminal or pressing
datatorch agent startctrl+cwill stop the agent. - View the agent in DataTorch. You can navigate to /agents (opens new window) where a list of all your agents will be available to you. You may need to give a bit of time for the information about the agents performance to populate.
# Creating a Pipeline
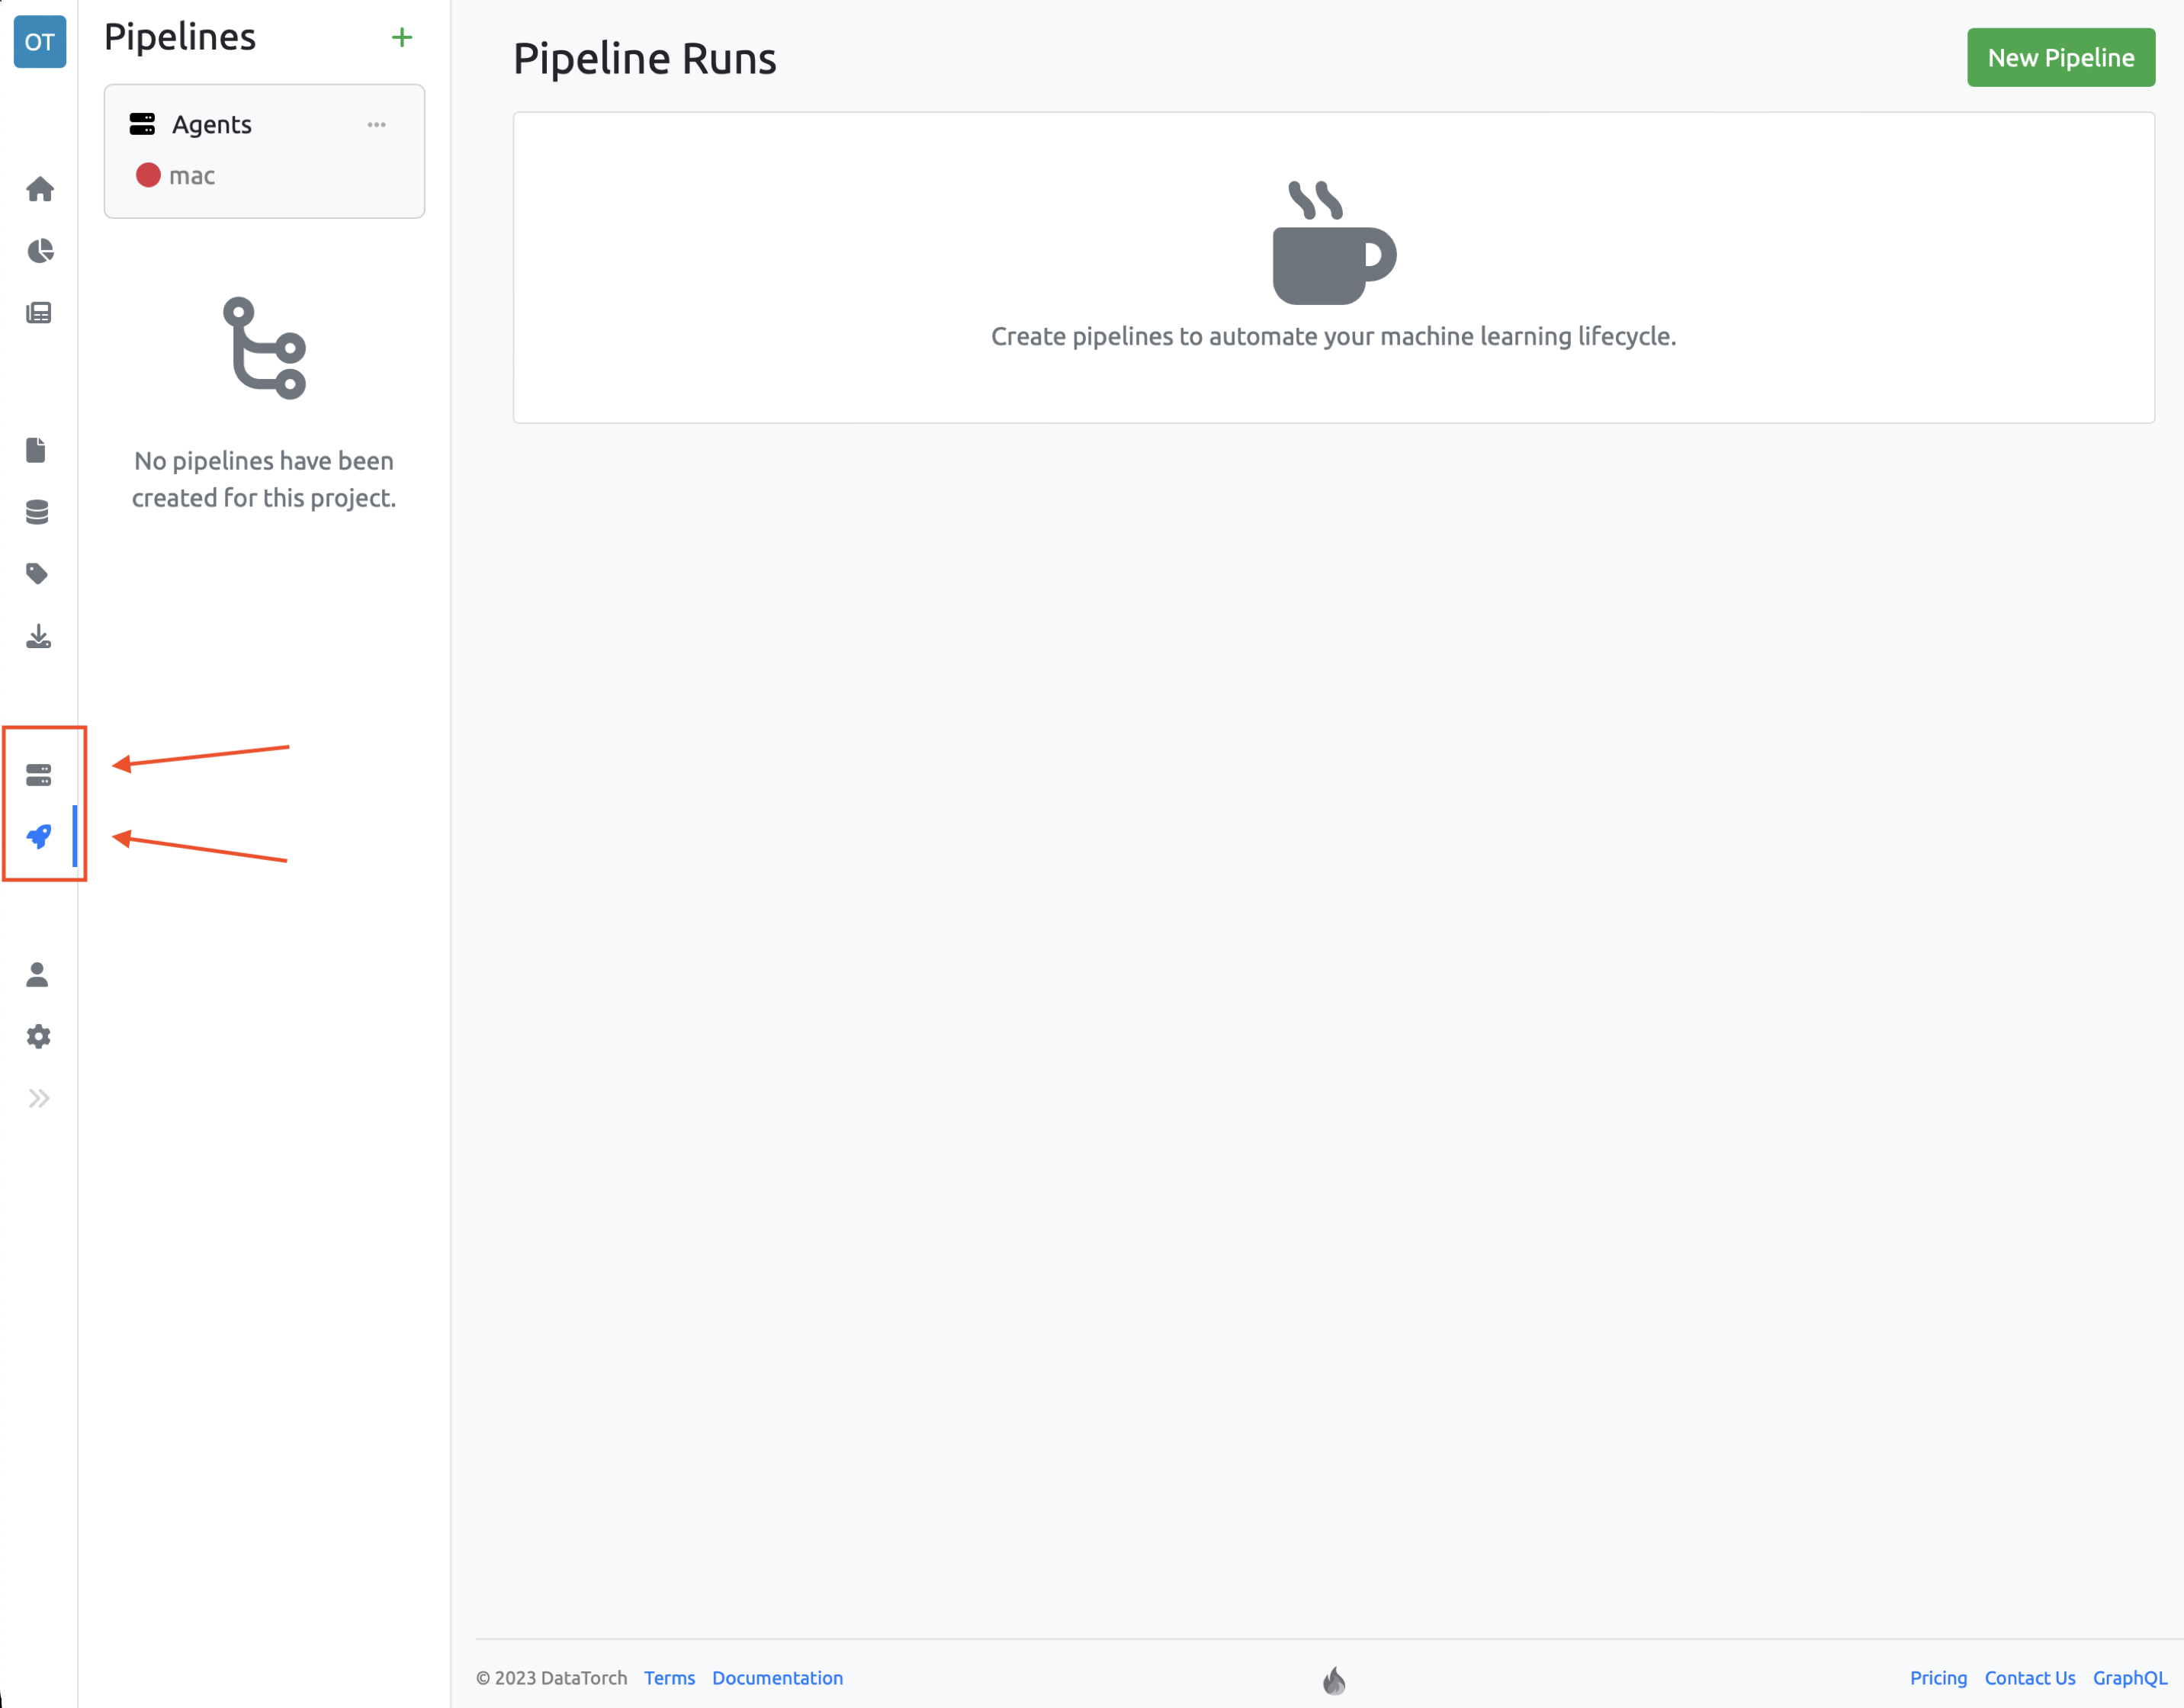
- On DataTorch, navigate to the main page of the project.
- On the left sidebar click the Pipelines tab.
- Inside the second sidebar click the + icon or the New Pipeline button.
- Use the YAML editor to define your pipeline. Checkout the Pipeline Syntax section for more information.
- Click create. If any errors exist they will be shown in red below the button.
# Terminology
Agent refers to an external computer that DataTorch is able to control.
Pipeline refers to instructions, defined in a YAML file, that detail the specific code that runs on an agent, and the circumstances surrounding its execution.
Job refers to a group of steps that are created and run as part of a pipeline. Each pipeline must have at least one job.
Step refers to a subtask that is run as part of a job. Steps don't have to always be actions, but an action must always be run in a step.
Action refers to a reusable unit of code that is run as part of a pipeline.
Run refers to the process of a pipeline being triggered, with its jobs being executed on an agent.
# Set up agent and run basic pipeline

Set up an agent, assign it to a project, then create and run a pipeline.