
# Set up a dataset with data from different sources
Create a dataset in your project that combines data from different storages.
Let's say you want to train your model on a dataset, but the files for that dataset are distributed across different locations: some are stored locally on your machine, some are on other machines, and others are saved across multiple cloud storages.
With DataTorch, we can consolidate these files into a dataset without needing to move them all onto the same storage.
# Access Filesources
While in the project page, click the Files tab to enter the file manager.
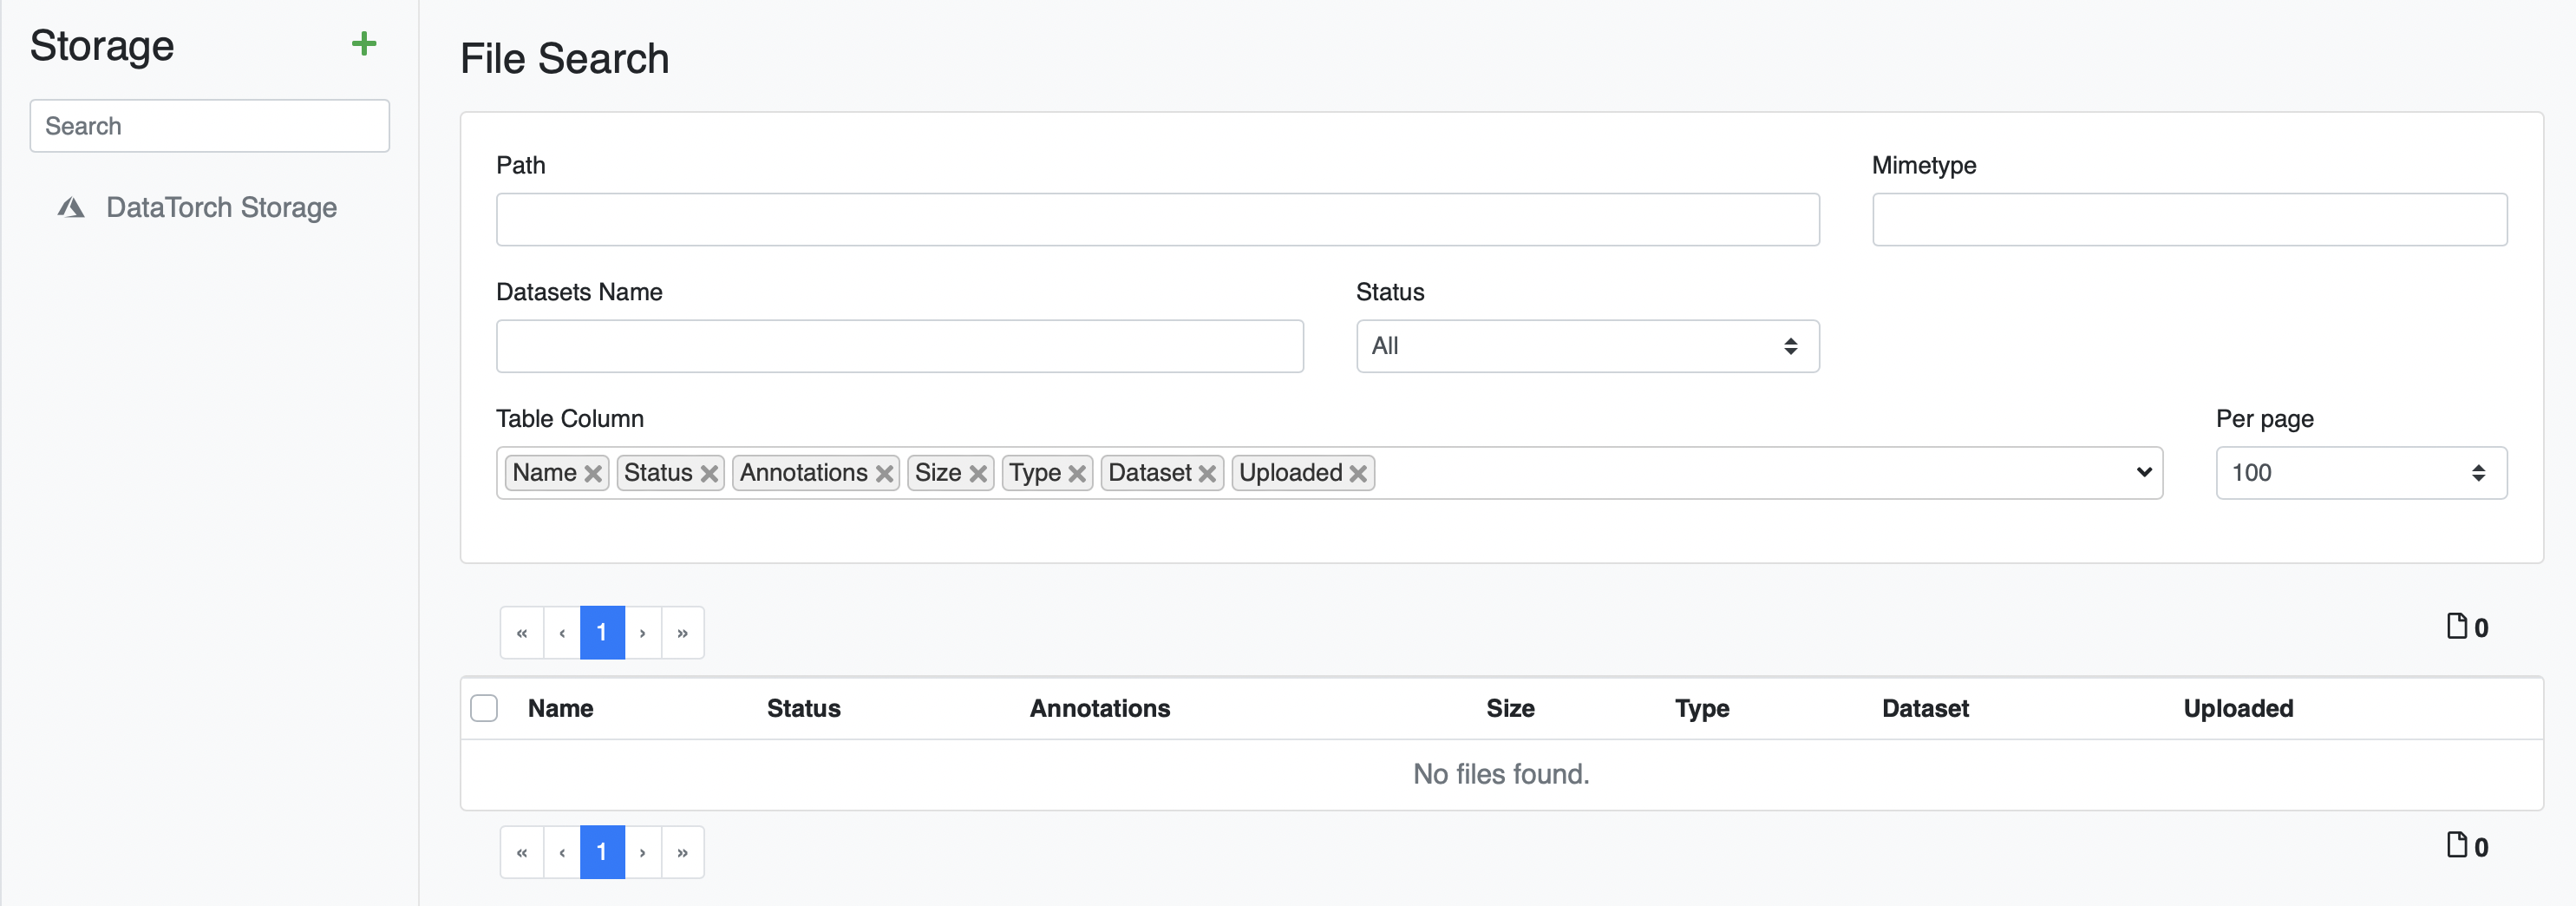
DataTorch provides every account with 10 GB free Azure storage as a default Filesource, so you can start uploading data immediately.
# Add local files via web UI to default Filesource
The most straightforward way to upload data is to use the web UI to transfer data from your local machine into the default Filesource. Click "DataTorch Storage", then "Upload" and follow the modal to move the files.
NOTE: This will move the files from your machine into cloud storage.
Directly accessing local files in DataTorch requires an on-premise installation.
Contact us (opens new window) about our enterprise plans to learn more.

# Add files remotely to a Filesource via Python client
You can also use our Python client to programmatically upload data to any of the Filesources you have access to. That is beyond the scope of this quickstart, but you can learn more here.
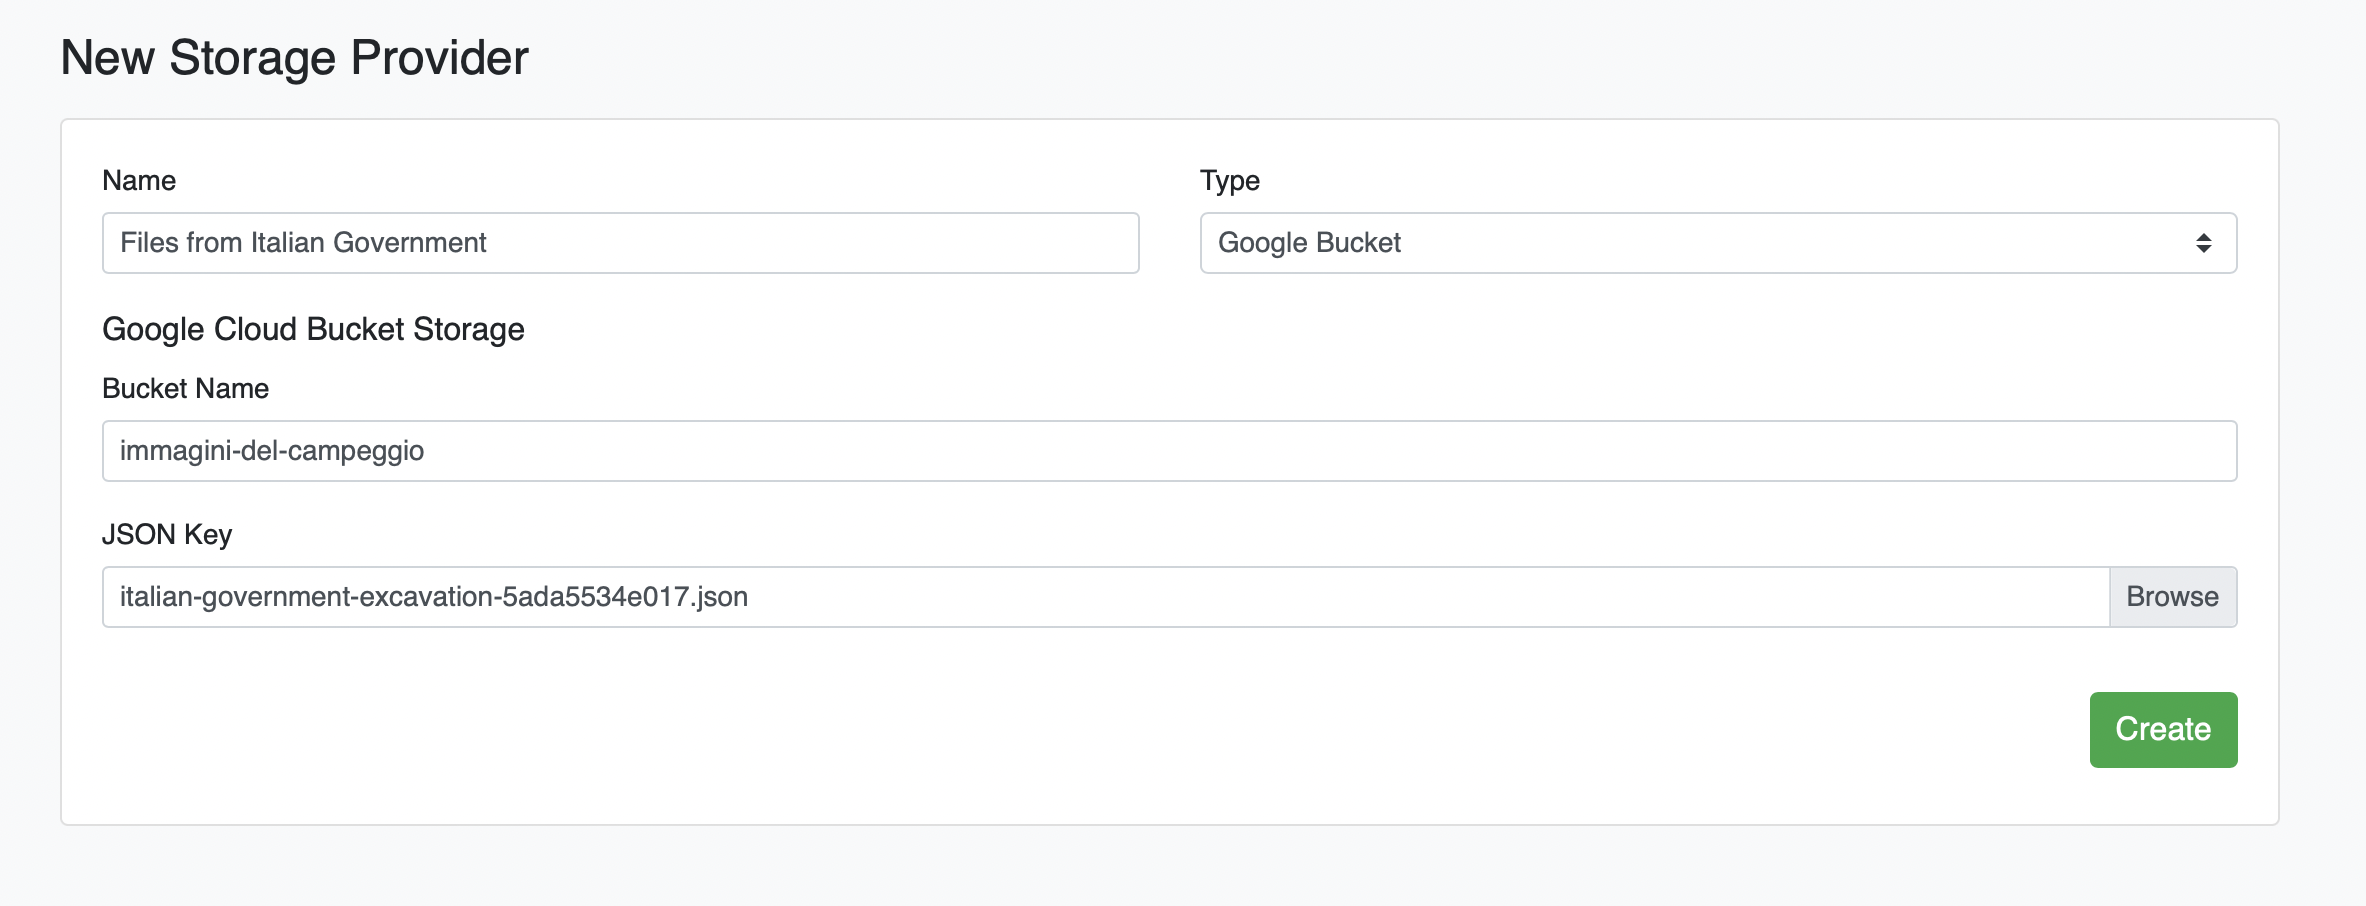
# Add Google Cloud Bucket as a Filesource
Click the green plus icon (+). Under the "Type" dropdown, select Google Bucket, enter your credentials, and click Create:
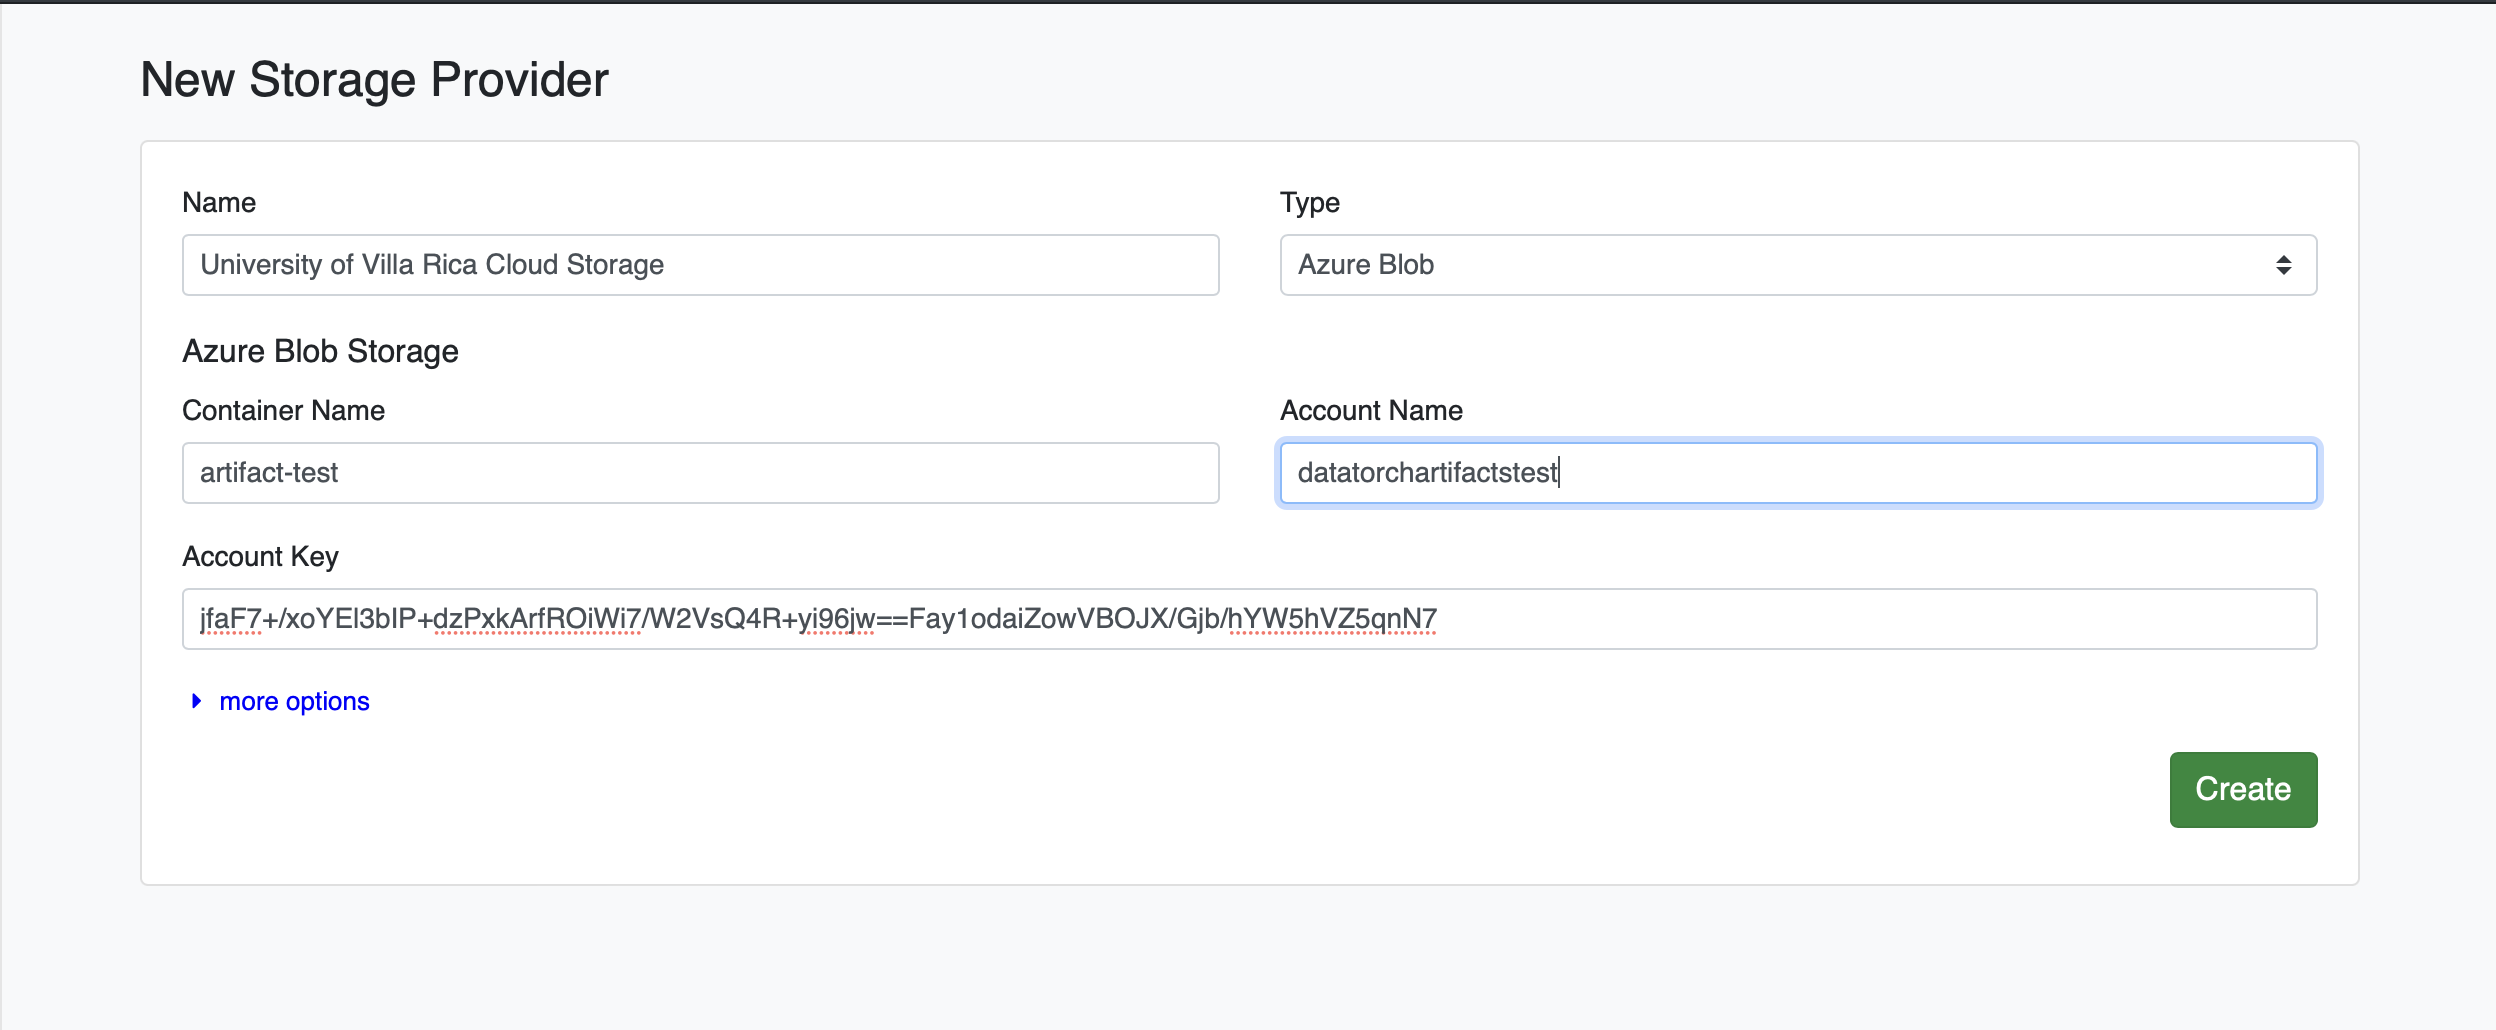
# Add Azure Blob Storage as a Filesource
Click the green plus icon (+). Under the "Type" dropdown, select Azure Blob, enter your credentials, and click Create:
# Add AWS S3 Bucket as a Filesource
Click the green plus icon (+). Under the "Type" dropdown, select AWS S3, enter your credentials, and click Create:

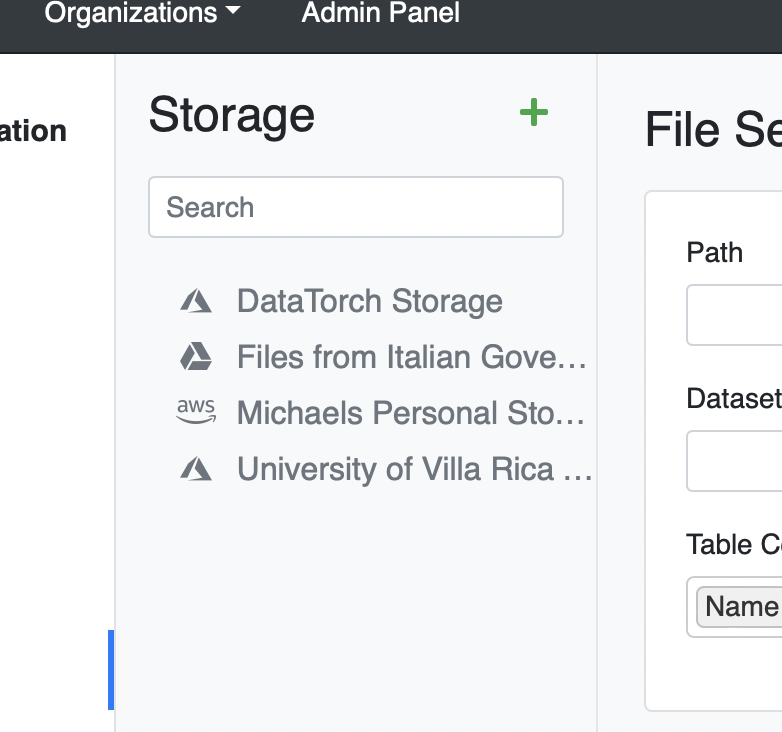
We have now added a total of four Filesources to our project: the default DataTorch Storage, and cloud storage provided by Google, Microsoft, and Amazon.
Our Filesources tab looks like this:
We are now ready to create a Dataset from our Filesources!
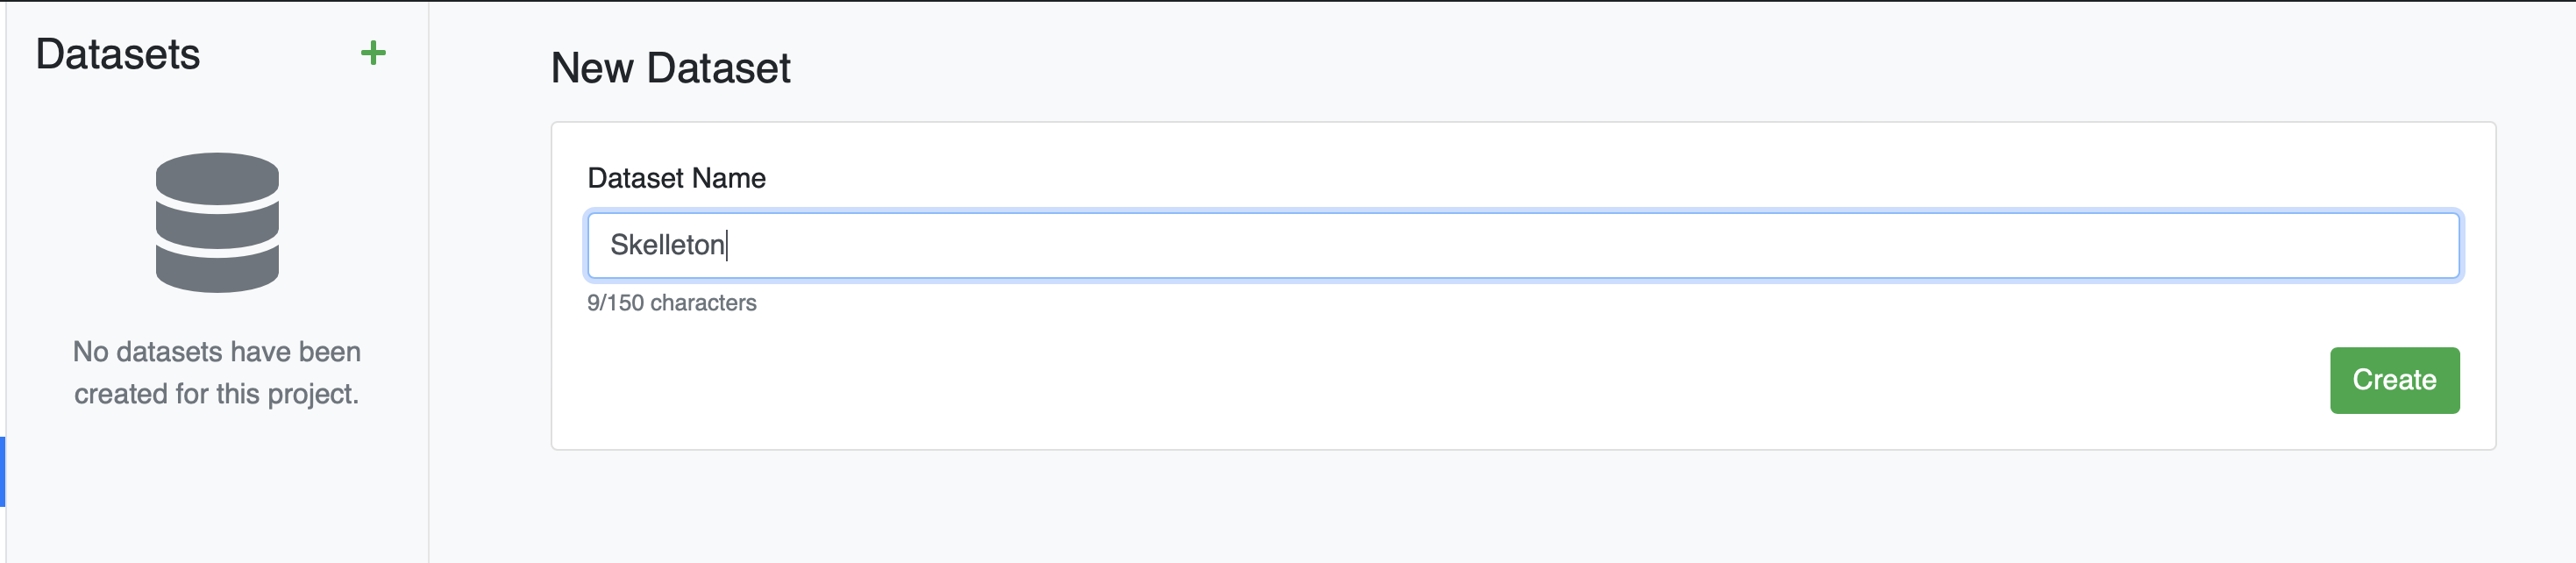
# Create Dataset
Click the Datasets tab in the Project page, click the green plus icon ( + ), enter a name for your Dataset, then click "Create".
A modal for uploading files will appear.
If your dataset needs files not already present on one of your Datasources, this modal lets you simultaneously upload files to the selected Datasource while adding it to the current dataset. In this case, our Datasources already have all the files we need, so there is no need to upload more data.
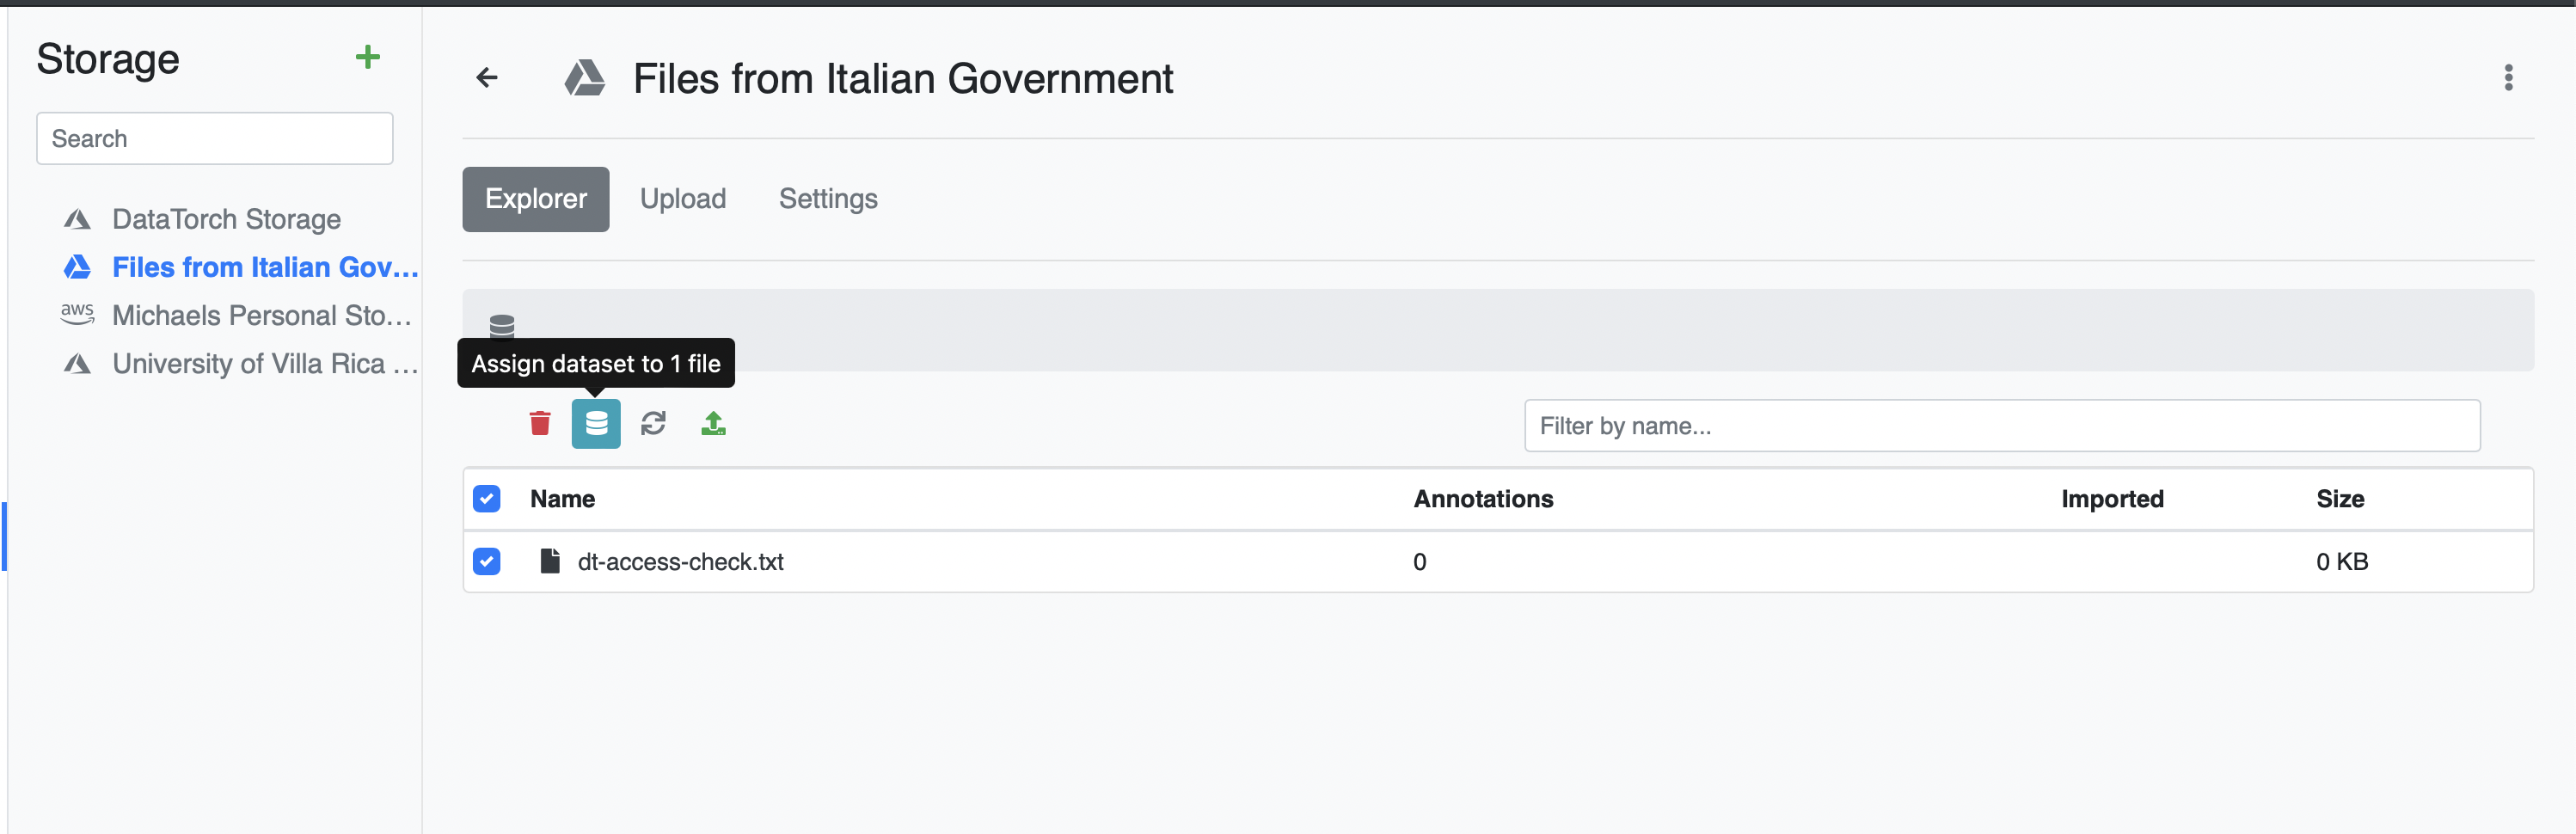
# Assign files to Dataset
Go back to the Files tab and click on a Datasource. For each file you want to assign, check the checkbox next to the file.
Afterwards, click the blue database icon to assign the selected files.
Repeat this process for each of the Datasources. Go back to the Datasets tab and click on your dataset to see the results.
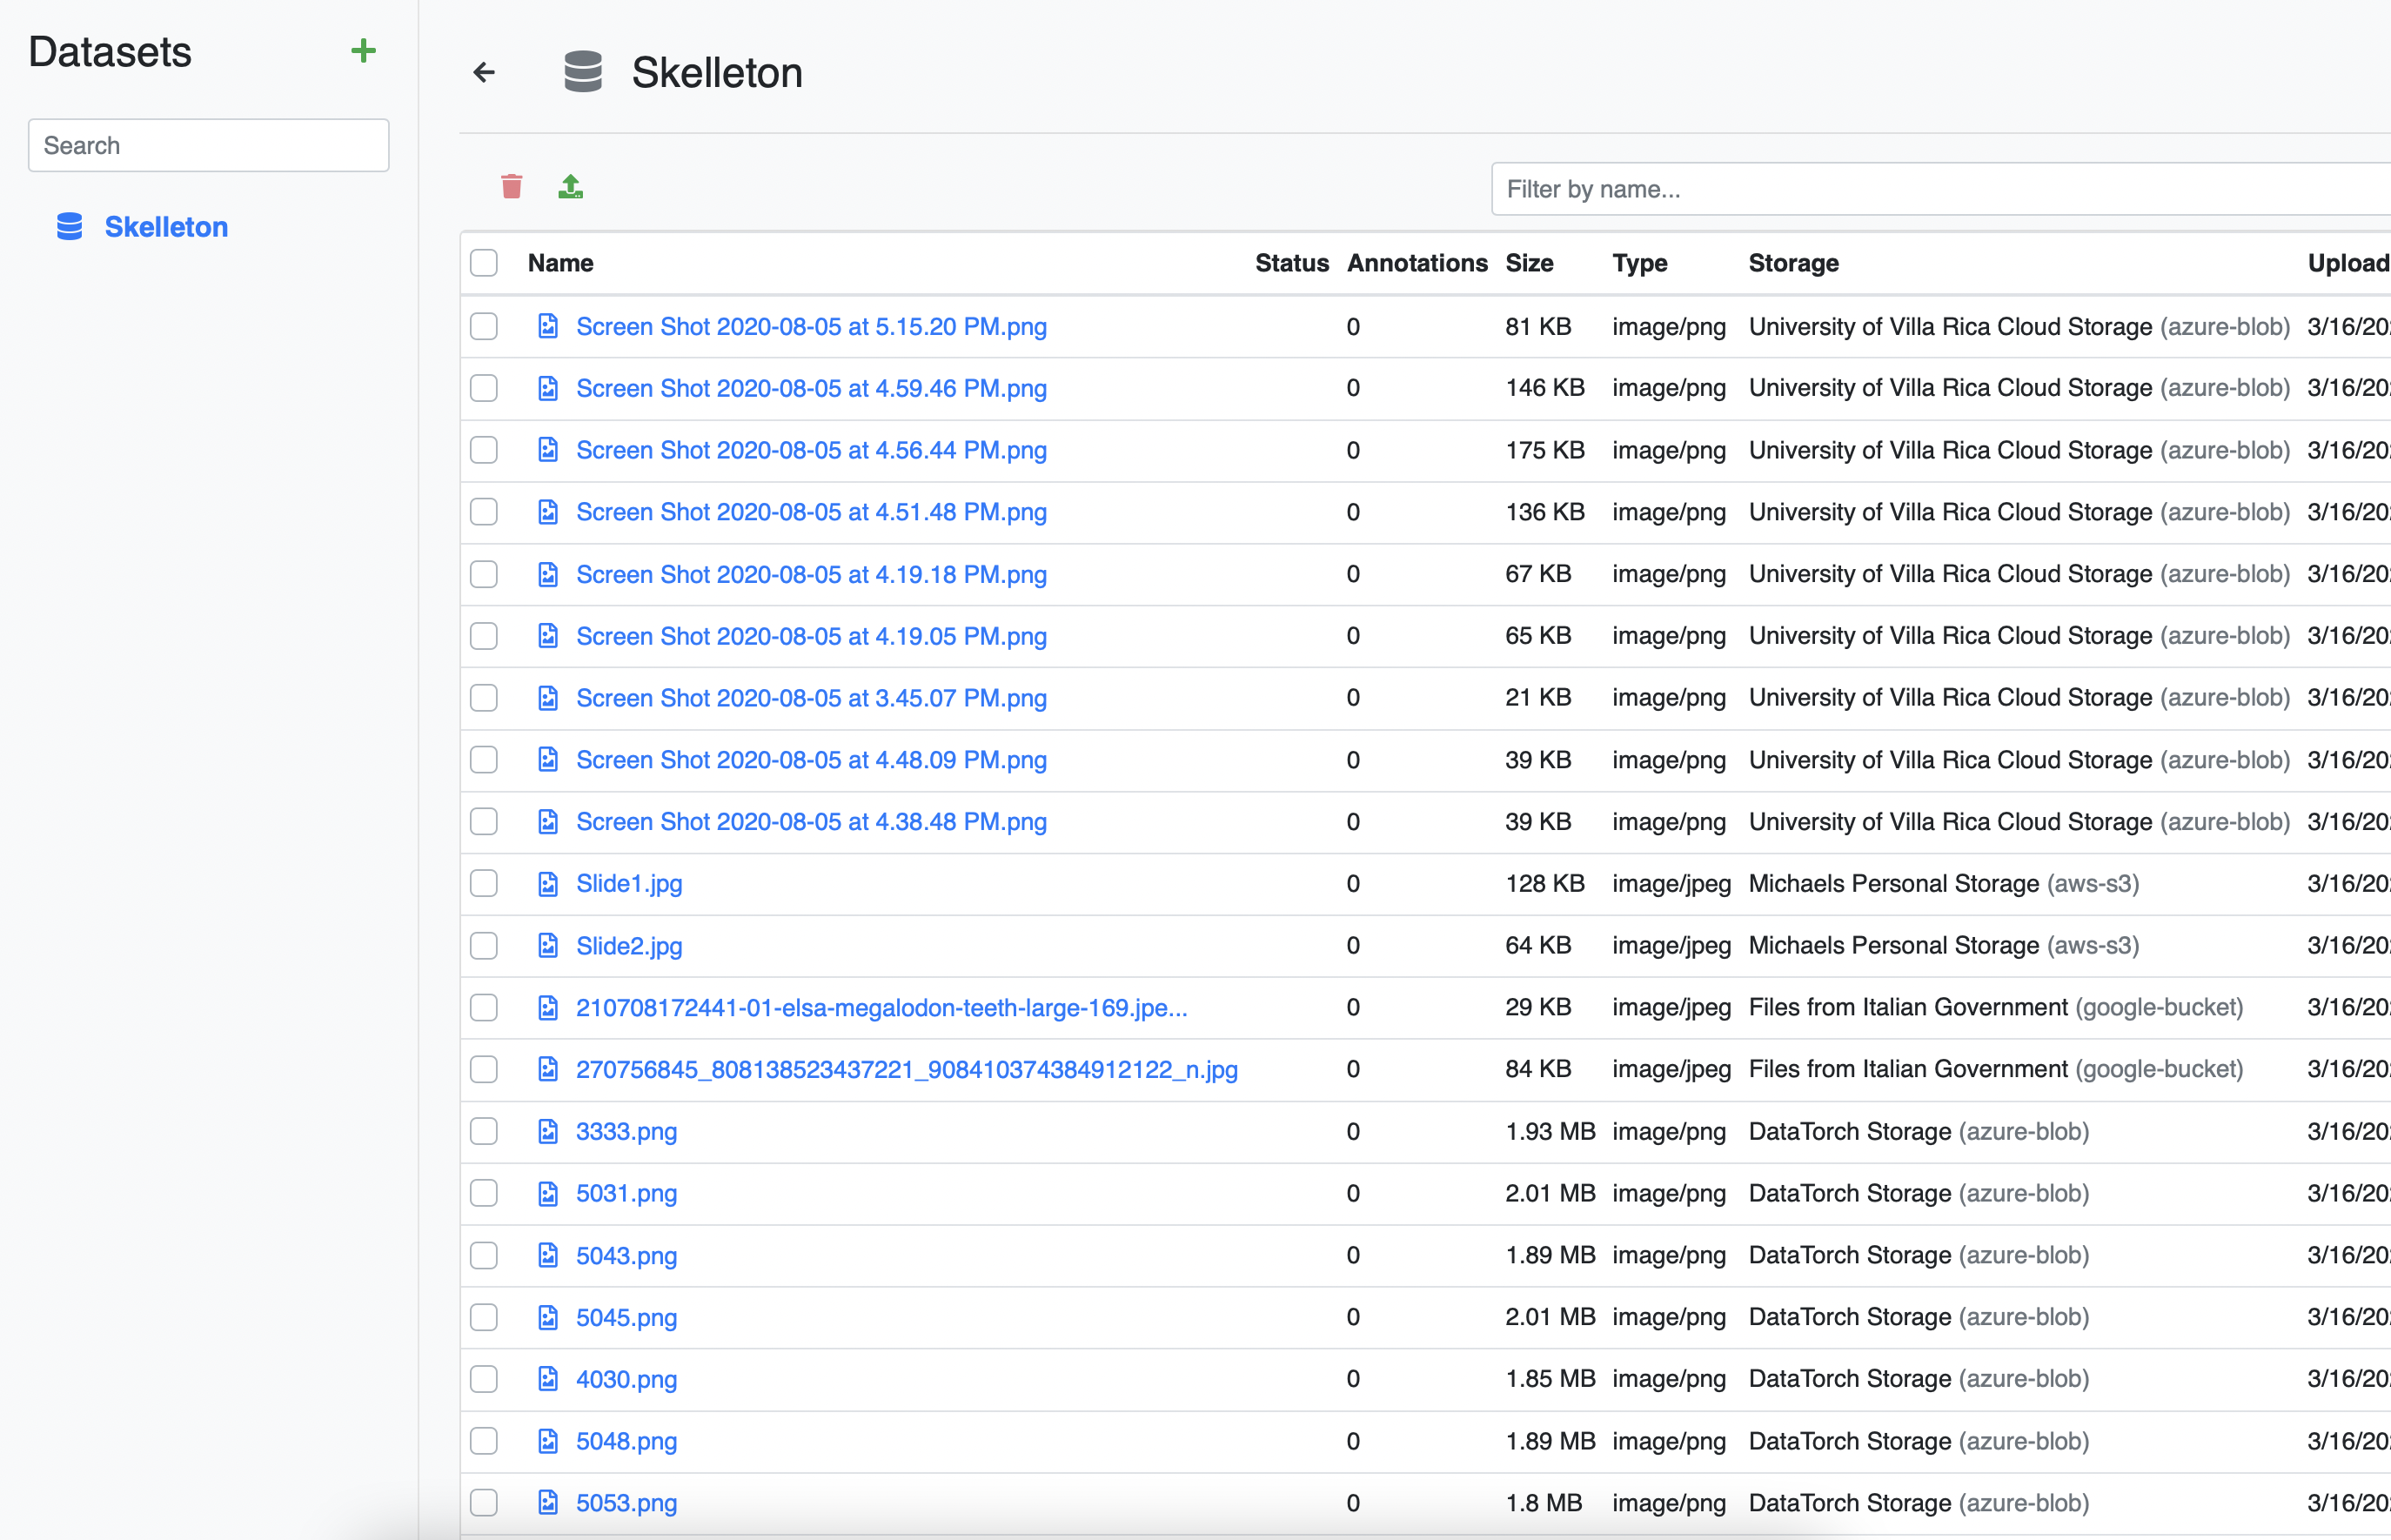
Congratulations, your project has a dataset, ready for annotation!