
# Import COCO Annotations in DataTorch
Importing COCO Annotations into DataTorch is simple and easy. It is done by using the DataTorch Python client to read in a COCO JSON file, which is then mapped to a corresponding project and dataset in the web client.
# Setup Python Client
Before you can import annotations, make sure you have installed and logged into the DataTorch Python client on the local machine that you will be importing your annotations from.
# Align Files and Labels
After setting up the Python client, you will need to do some setup in the DataTorch web client to make sure the files and labels in your Project match up to the imported COCO JSON file.
For the files:
- Make a Project in DataTorch
- Create a Dataset containing the raw image files with the exact same filenames as those listed in the COCO JSON file
For the labels:
- Create unique labels in DataTorch with label names matching each of the annotation classes listed in the COCO JSON file
# Obtain Project ID
After aligning the files and labels, we are almost ready to import our annotations, but first we need the project ID to input as a parameter to the import function.
To do this:
- Navigate to the Project containing your import files
- Go to "Settings" tab under Miscellaneous
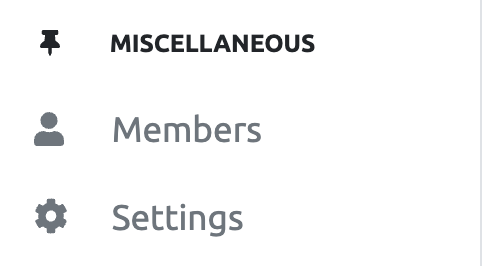
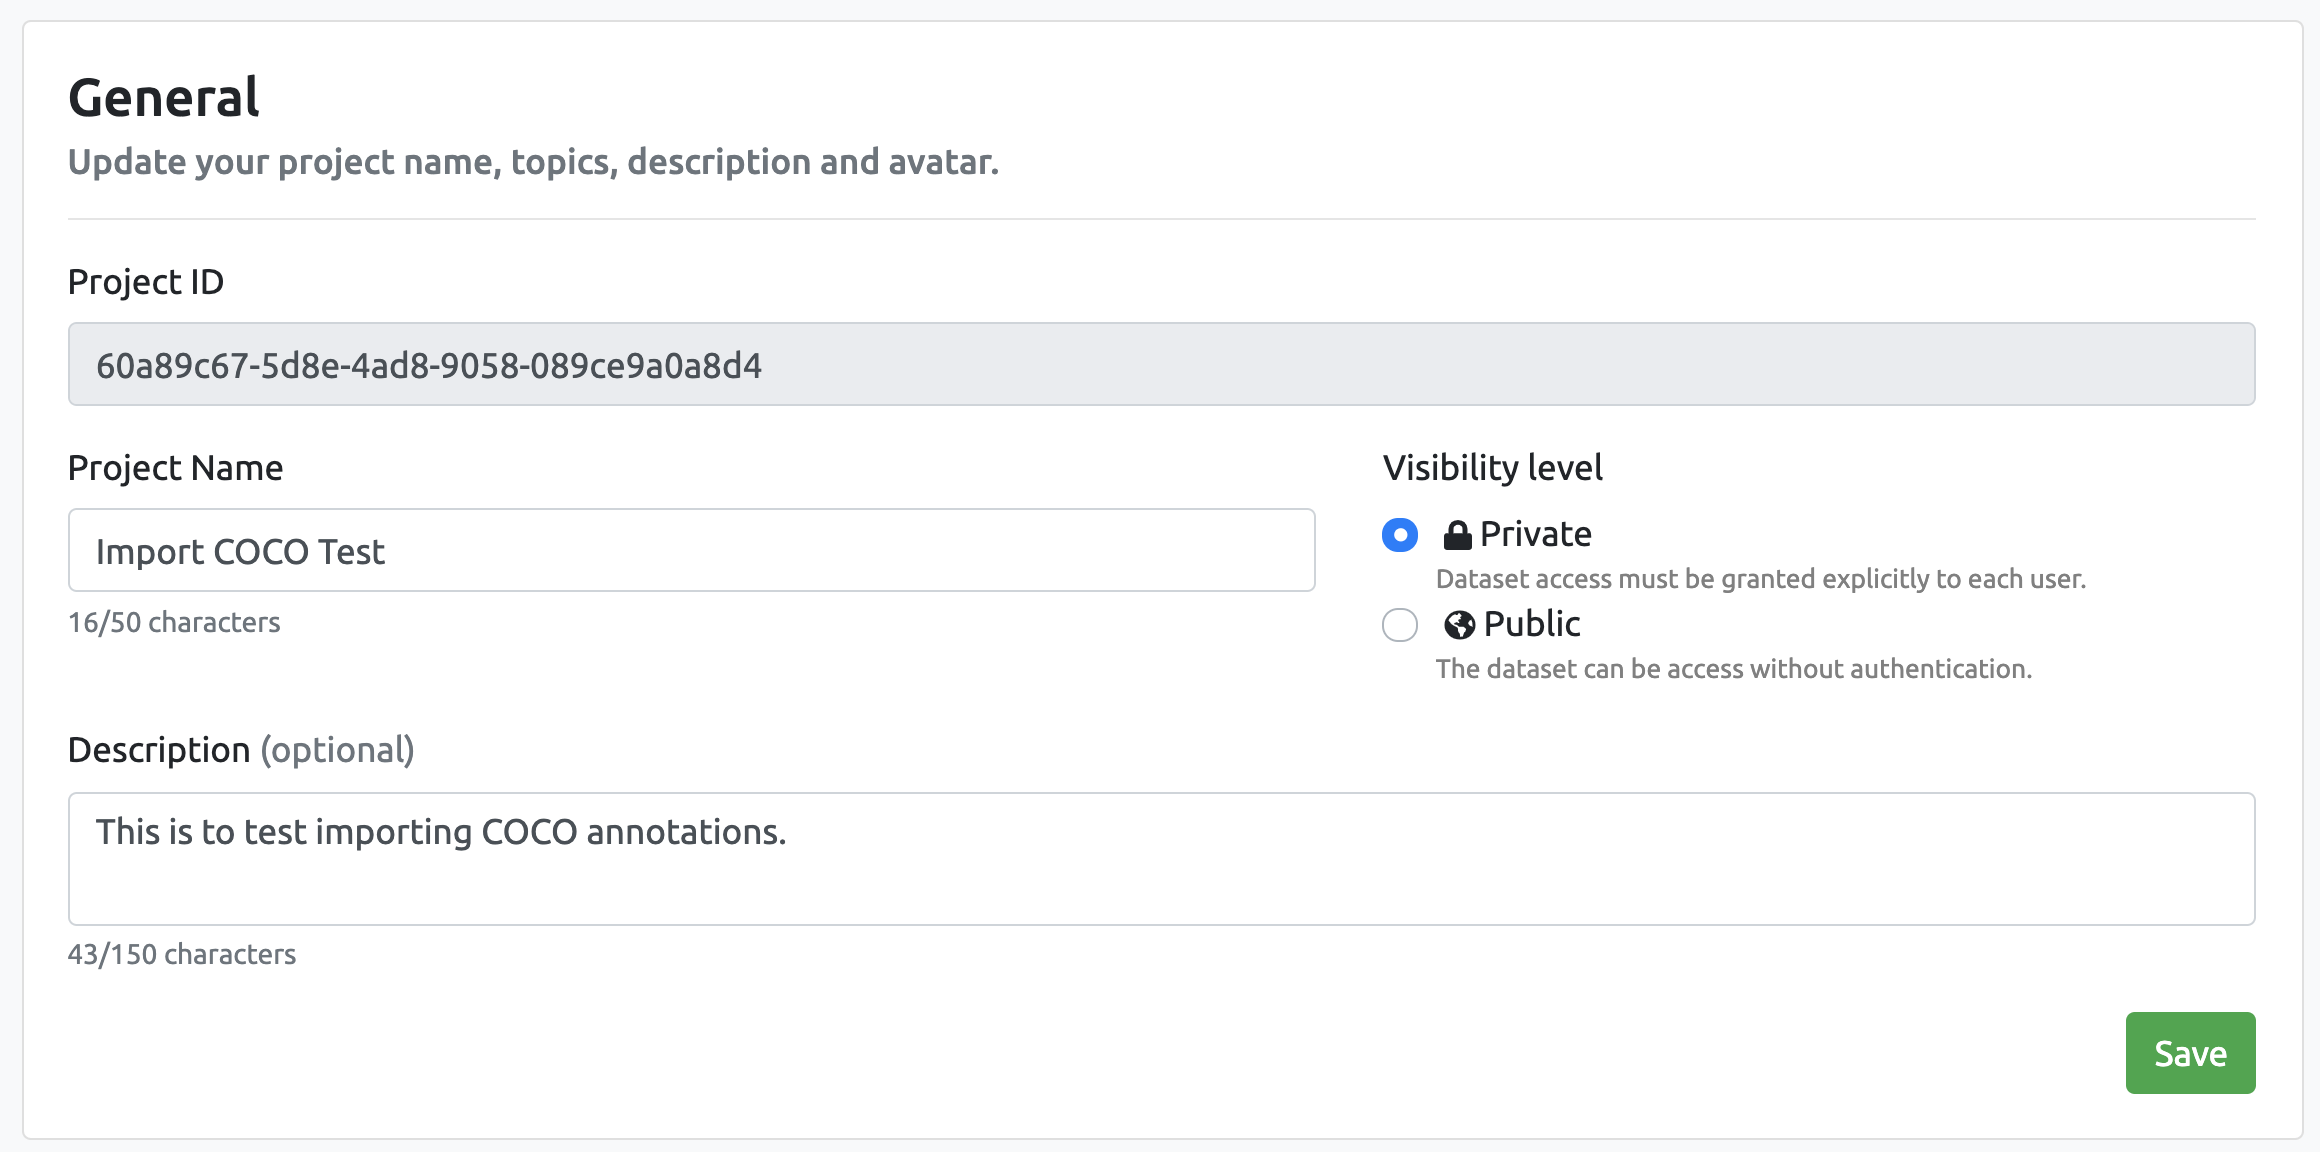
- Under "Overview" → "General" you should see your project ID. Copy this to your clipboard.
# Import Annotations
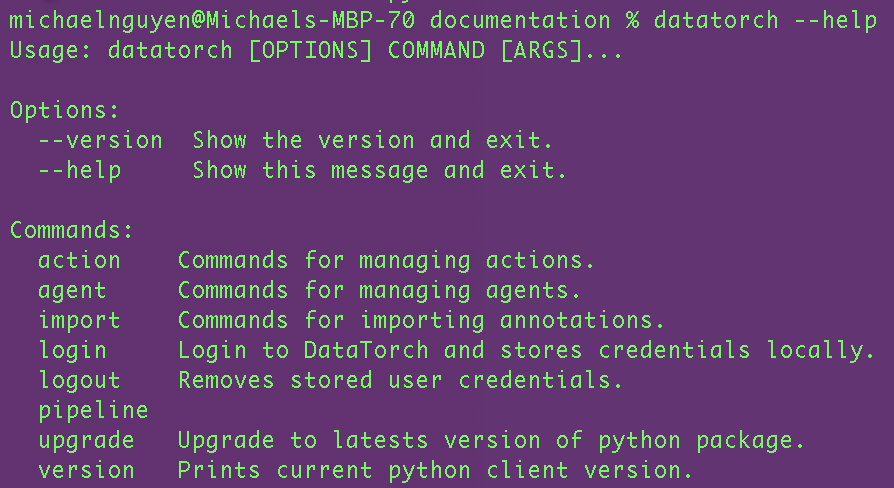
In your local machine containing the Python client and COCO JSON file, navigate to the directory containing the JSON file then run the command:
datatorch import coco
At the "File" prompt, put in the name of the JSON file containing your COCO annotations.
At the "Project" prompt, paste in the Project ID you obtained earlier to complete the import process.
After this is complete, if you return to the web client, you should see the annotations will be uploaded into the previously raw image files.