# Upload data to DataTorch with the Python client
Take an existing project, and use DataTorch Python client to upload data to it.
In terms of storage, logistics, and management, managing large datasets can be cumbersome.
By using our Python client to upload data to your project, you can bypass a significant amount of manual effort, and write scripts to control when and how your data is uploaded:
# Import datatorch
import datatorch

# Assign API and Project to variables
api = datatorch.api.ApiClient(api_key='ebawe75bf-5fe4-41c3-0049-59fb4c25b180')
proj = api.project('54a5s11c-843e-0911-839d-395bg634g9g0')

#Upload a file to DataTorch Storage
testfile = open('uploadme.png','rb')
api.upload_to_default_filesource(proj,testfile)
# Set up DataTorch
First, make sure you have an existing project created.
Then install the Python client for accessing your project programmatically:
# Install with pip. Requires Python 3. You may need to use pip3
pip install datatorch
# Authenticate Access
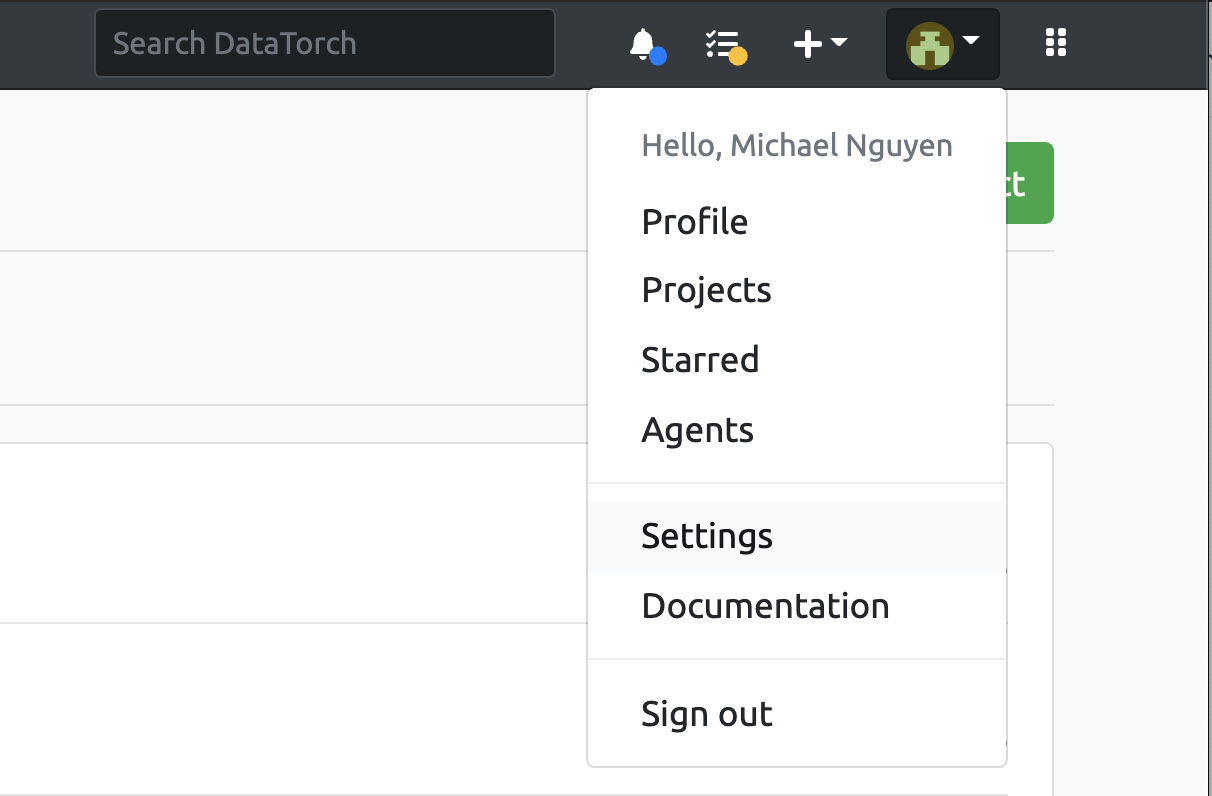
DataTorch uses API keys to authenticate the client. API keys are generated in your account settings (opens new window) which you can access by clicking the user icon in the upper right hand corner.

Afterwards, click on "Access Tokens", then "New Key". Enter a name for your key then click "Create" to generate a new key.

# Get Project ID
In order to upload data to your project, you will need the project ID, which is found in the settings section of your project:

# Example Script
Currently, the Python client only allows upload to the default DataTorch Storage. Use the upload_to_default_filesource() function to do so:
# Import datatorch
import datatorch

# Assign API and Project to variables
api = datatorch.api.ApiClient(api_key='ebawe75bf-5fe4-41c3-0049-59fb4c25b180')
proj = api.project('54a5s11c-843e-0911-839d-395bg634g9g0')

#Upload a file to DataTorch Storage
testfile = open('uploadme.png','rb')
api.upload_to_default_filesource(proj,testfile)